Note: these instructions are for the twelfth generation Ford F-150 produced from 2009-2014.
Besides being an important safety feature, burnt out taillights, turn signals, reverse or brake lights can be a ticketable offense. Nobody wants that!
Luckily, replacing your F-150’s rear bulbs is a snap and easy enough to do yourself without taking it into the shop. In this step-by-step guide, we’ll show how to fix a dead bulb in just a few minutes.
What You’ll Need:
Replacement bulbs:
Tools: 8mm socket wrench
Protective work gloves (to avoid handling the bare bulbs).
Replacing rear brake, turn, reverse or side marker lights on a 2009-2014 F-150:
Step 1: Turn Off Your Lights
Make sure your headlamps are off so you don’t get zapped while working on the tail lamps. Safety first!
Step 2: Pop Your Tailgate
Lifting your tailgate gives you access to the tail lamp assemblies. No tools needed for this step.
Step 3: Remove the Tail Lamp Bolts
On each tail lamp assembly there are two bolts to remove. Grab your ratchet wrench and remove these so you can access the lamp housing.

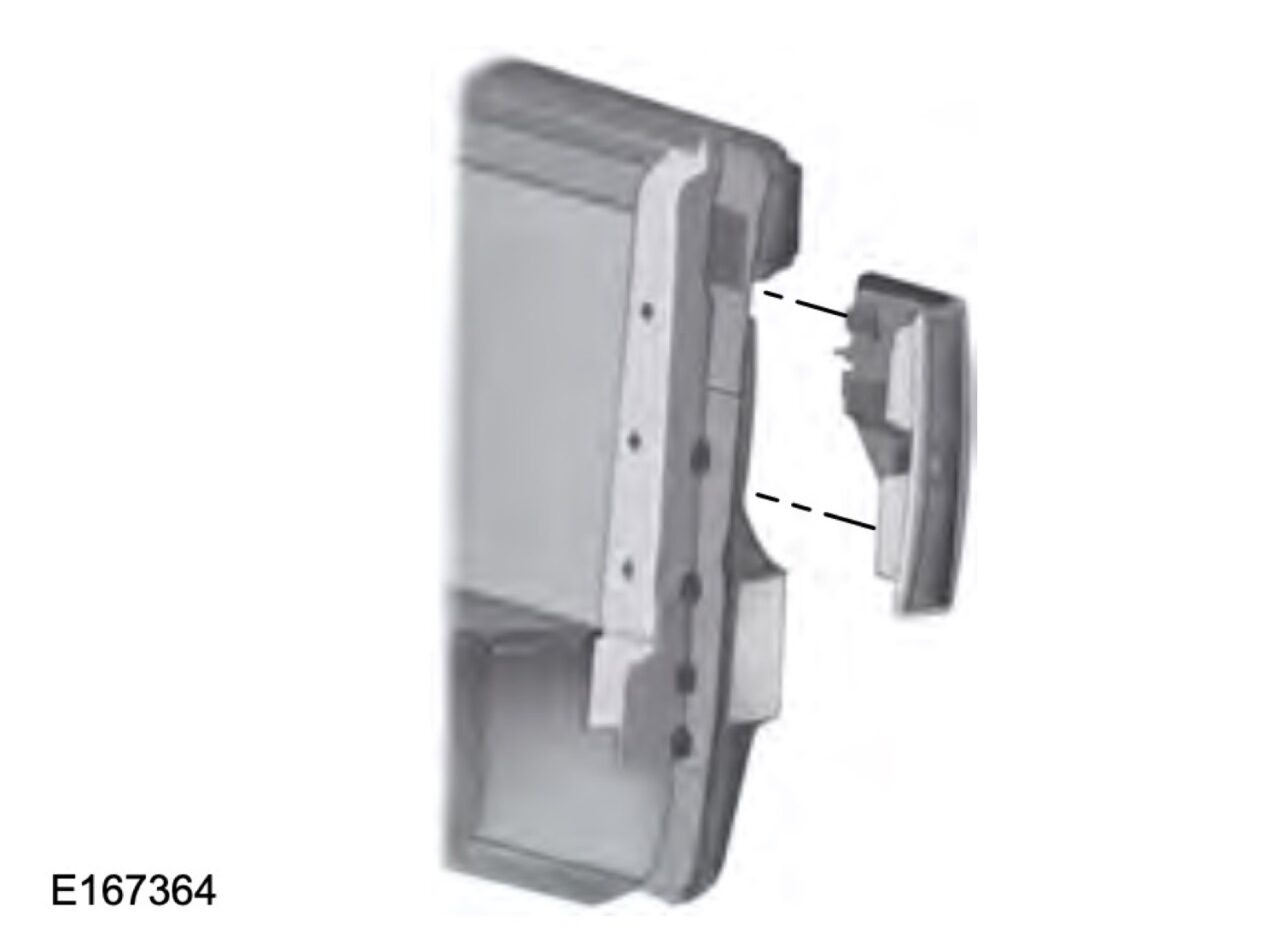
Step 4: Pull Out the Lamp Assembly
Gently pull the entire lamp assembly out from the tailgate pillar. There are retaining tabs, so be careful not to break them.
Step 5: Disconnect the Bulb Wiring
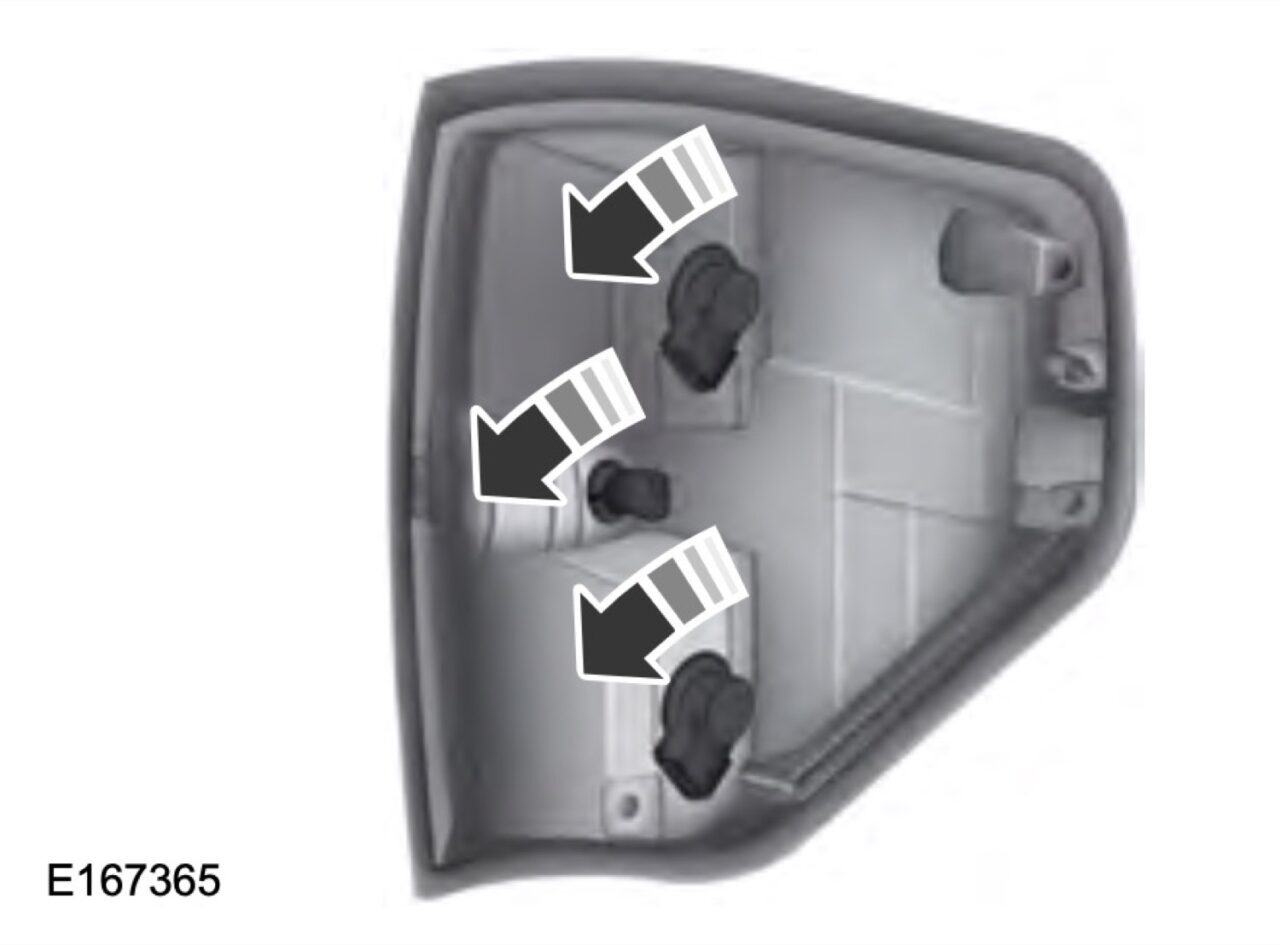
Behind the tail lamp assembly, locate the electrical connector for the bulb you need to replace. Pull it straight out to disconnect.
Step 6: Remove the Burnt Out Bulb
Look for the bulb socket, rotate it counterclockwise, and pull the bad bulb straight out.

Step 7: Insert the New Bulb
Take your fresh new bulb and insert it into the socket, making sure it clicks into place.
Step 8: Reconnect the Electrical Plug
Plug the electrical connector back into the lamp assembly.
Step 9: Reinstall the Lamp Assembly
Snap the lamp assembly back into place on the tailgate pillar and replace the two bolts you removed earlier.
Now you can get back to work or play with a fully illuminated ride. Those burnt out lamps didn’t stand a chance against your mechanical skills!

